Baking Scones
One of the enjoyable things I get to do is to head over to Log House Holidays and spend an afternoon teaching people who have booked breaks in one of the amazing cabins.

Mostly recently, I taught 8 lovely ladies who were there to celebrate a 40th birthday. We made cinnamon buns, scones and Scotch pancakes. So why am I telling you this? It was whilst we were making scones, that I realised that it wasn’t just about the recipe, it was how we made them. Each person followed the same instructions but each set of scones came out differently.
What it came down to were three important factors:
- The way the mixture was handled
- The thickness of the scone mixture
- The way it was cut
My top tips for the perfect scone
Mixing and Handling
Always mix by hand. After you rub the butter the butter in and all the sugar to the flour/baking powder mixture, you’ll need to add the buttermilk a little a time. You might not use all of that mentioned. You want a dough that is soft and every last bit of flour has been mixed in.
Scone Thickness
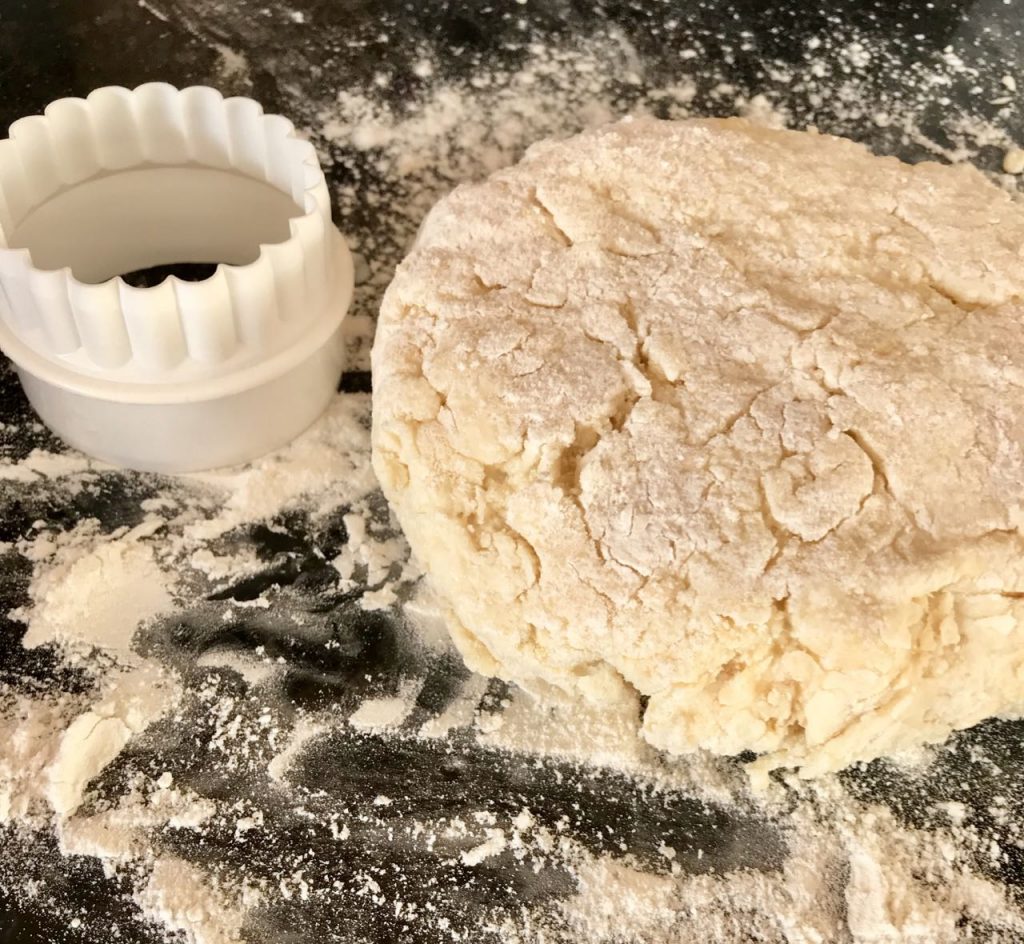
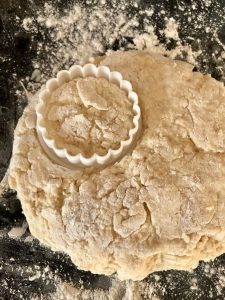
The thickness of your scone dough is all important. Shape a small rectangle at least 2.5 cm thick with your hands. No need to use a rolling pin. Don’t press it down hard! The scone depth comes up to the top of my cutter.
Cutting
There’s plenty of discussion as to whether the scone cutter should be fluted or smooth; whether you should egg wash or not, especially if you happen to be entering a show. Some show rules suggest smooth cutters for sweet scones, and fluted for savoury and that you should never egg wash!
Your scone will expand when cooking, so choose the cutter size carefully. Mine is 60 mm and can be used either fluted or smooth. Similar pastry cutters are available from Amazon.
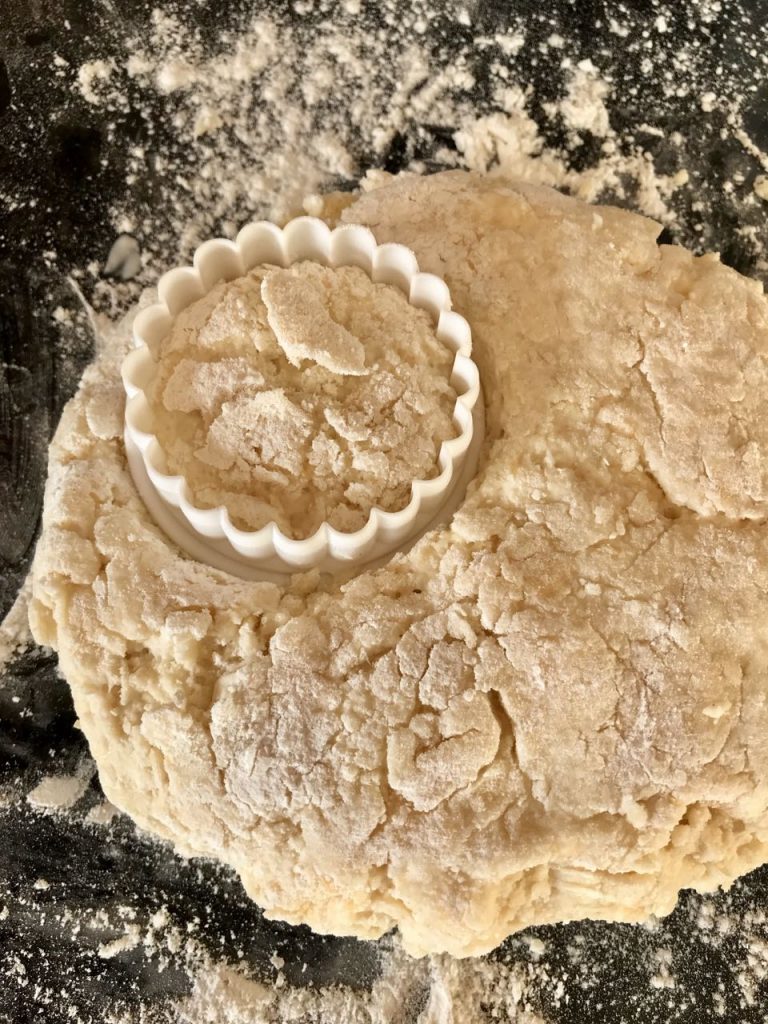
I like to use a smooth cutter. Dip it in some extra flour and push down into the mixture. Don’t twist! If you do, the scone will be misshapen. Gently form the dough back together and cut again. You will get six scones from the recipe.
Preparing the Baking Tray
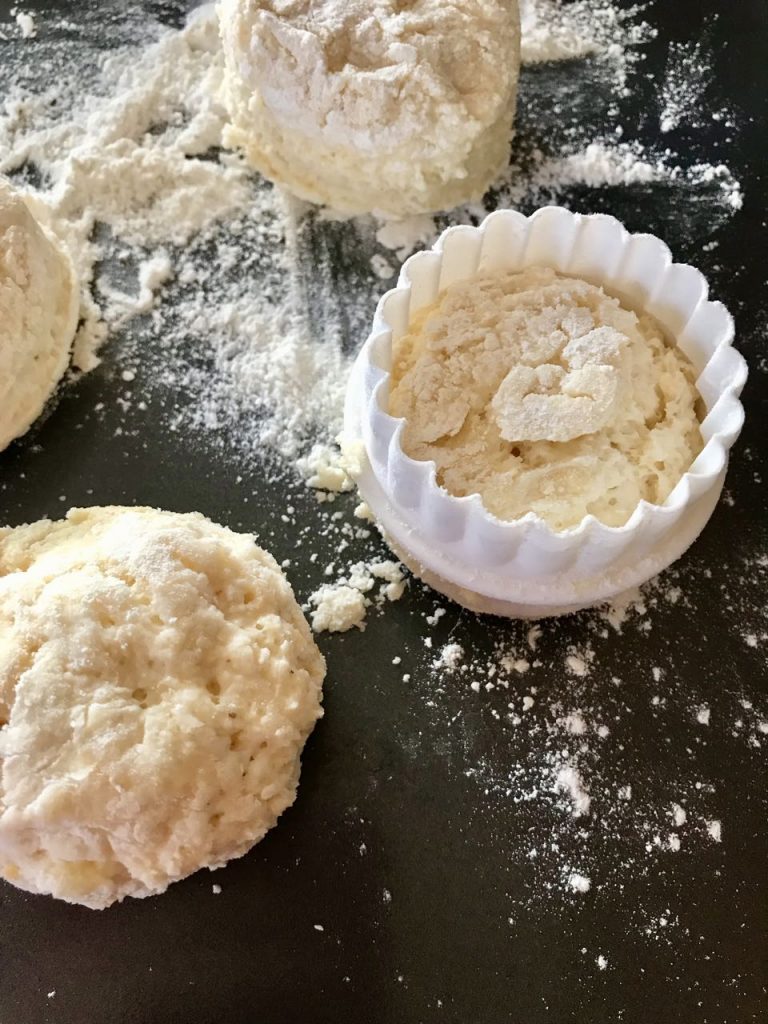
Sprinkle flour over the tin lightly. I really am not sure of the science of why a floured tray works, but it does!

Ingredients are important
The first ingredient to seek out is buttermilk. Once I started making scones with buttermilk, they got better and better. It’s easy to find in many farmers markets (including Stroud) and most supermarkets and keeps remarkably well.
If you want to take another step to perfection, buy some extra fine sponge flour (from most supermarkets) or Type 45 French flour from Shipton Mill. This very fine flour is fabulous.
My Best Scone Recipe
There are so many scone recipes out there, and I hesitate to say that mine is the best. But it’s one that I’ve tried and tested and it always comes out well. Just bear in mind my tips to make the best scones you have ever made.
My Best Scone Recipe
Ingredients
- 225 grams plain flour sponge flour or Type 45 flour is ideal
- 8 grams baking powder
- 45 grams butter salted or unsalted
- 1 large egg
- 125 millilitres buttermilk approximate amount
- 1 pinch salt
- 25 grams caster sugar for sweet version
- 50 grams raisins optional for sweet version
- 100 grams mature cheese for savoury version
- 1 pinch salt
- 1 egg for egg wash
- 5 grams smoked paprika optional for savoury version
Instructions
- Preheat oven to 200C/Gas 6. Sprinkle flour over your baking tray and set aside.
- Measure the flour, baking powder and salt into a bowl. Cut the butter into cubes and place in the flour
- Rub the butter and flour through your fingers until the mixture looks like breadcrumbs
- If you are making sweet scones, add the sugar and mix in.
- If you are making savoury scones, add 75 gr cheese and smoked paprika and mix in
- Add the egg and mix the mixture with a fork. It should start to stick together
- Add buttermilk a little at a time, to make a soft but not gloopy dough with no flour left in the bowl. You might not need to add the whole quantity shown.
- Turn out onto the surface and shape into a rectangle very lightly. It should be about 2.5 cm deep. Do not press down.

- Using a smooth 60 mm cutter, press down to cut through the dough. Do not twist. Lift up and gently place scone on the baking tray. Do not worry about any splits. Reform the dough and cut until all mixture used.

- Beat the extra egg in a small dish and use a pastry brush to brush the top of the scone. If you are making a savoury scone, sprinkle the remaining cheese on top
- Place in the oven and bake for 12 minutes or until light golden brown. Timing will depend on your oven. Serve warm. You can keep scones in the fridge for a couple of days, but always warm before serving.

Notes
Interested in a baking class? Find out more

Now you’ve made the scones, why not try your hand at clotted cream?



100%
100%