Pesto Rolls
Pesto filled tear and share bread is a fun recipe to make and you can get the kids involved. My recipe is easy to make and to adapt. The bread is a perfect accompaniment to a picnic in summer or a casserole in winter.
This is such an easy dough to make. You’ll not spend too long on the actual making and then you can pop it in the fridge until you are ready to use it. Just add a range of toppings. This is one of the breads that students make in my bread making class and it always proves very popular.
You can, of course use shop bought pesto for speed.
Ingredients
- Fresh or dried yeast. Fresh yeast is available from most supermarket bakery counters but you will have to ask.
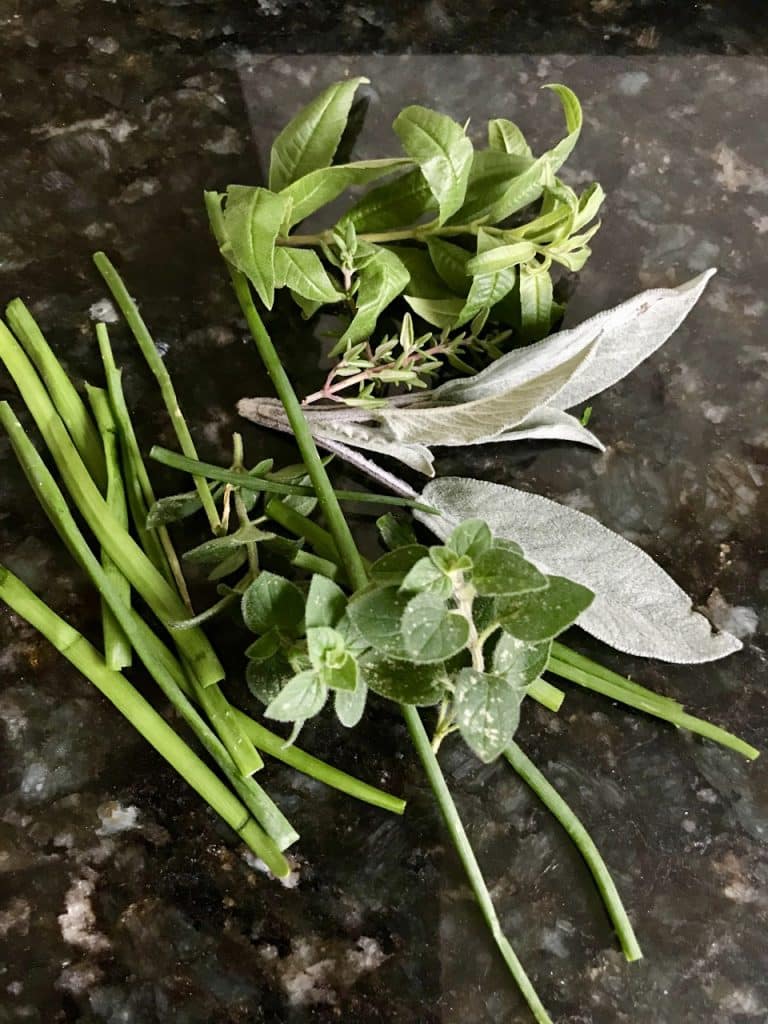
- Fresh herbs. Use what you might have in the garden, or buy fresh. Whilst a traditional pesto uses basil, any of the “soft” herbs will do. I’d not use rosemary for example as it rather robust.
- Oil – use extra virgin olive oil, or local rapeseed oil
- Parmesan cheese – go for a piece rather than ready grated
Equipment
Whilst you can make this by hand, if you have a stand mixer (eg Kenwood) or a food processor, it will be a lot easier. If you have a dough hook for your stand mixer use that in preference to your cake making tool.
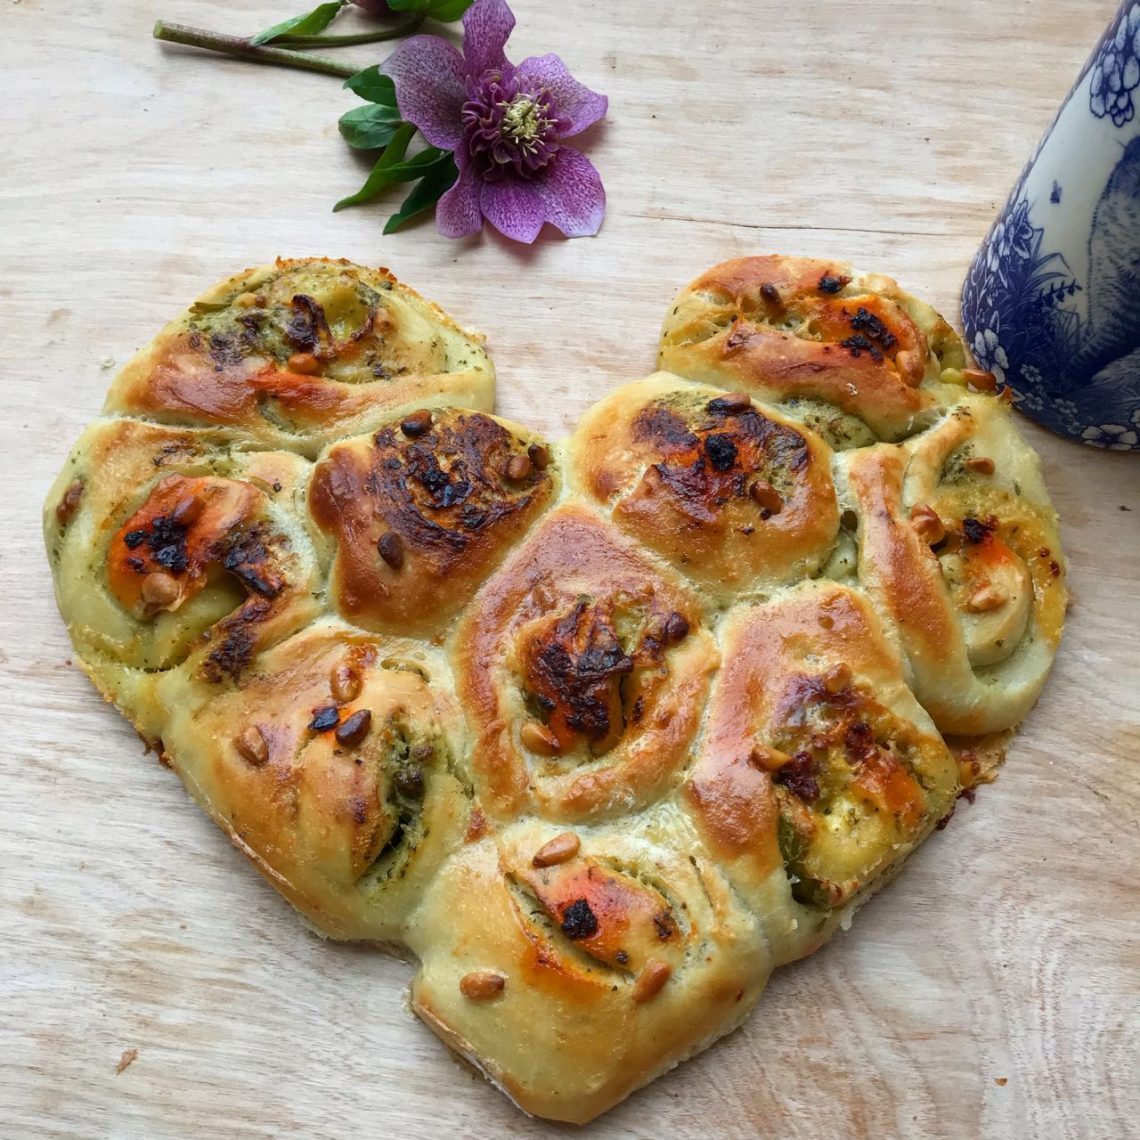
To make a heart shape, cut a strip of card about 3 cm high and join in a circle, bend to create a heart and place the buns within the shape.


Savoury Tear and Share Bread

Savoury Tear and Share
Equipment
- 1 Rolling pin
- 1 Large flat tray
- 1 Pastry Brush
- 1 Dough scraper
- 1 Pastry Brush
- 1 Stand mixer optional
- 1 Metal spatula
Ingredients
- 500 gr Bread Flour
- 50 gr Sugar
- 25 gr Milk powder
- 15 gr Fresh yeast 15gr or two 7gr sachets dried yeast
- 10 gr Salt
- 250 ml water Approx 250 gr water, 50 gr egg
- 100 gr Butter
- 100 gr pâte fermentée (PF) optional
- 1 egg approx 50 gr
Filling
- Pesto
- sun dried tomatoes, confit garlic, goats cheese and chilli sauce, pine nuts optional
Instructions
- Weigh out the ingredients carefully ticking off each one as you go so as not to miss anything out. The water temperature should ideally be 22°C
- Place each ingredient the bowl as you go (except the butter), making sure that the salt does not touch the yeast.
- Cut the butter into cubes.
- If using the stand mixer with a dough hook: Turn the mixer onto its lowest speed and mix for 3 minutes. Turn up to a medium speed (eg 3 on a Kenwood) and mix for 3 minutes.
- Turn the speed down to minimum and add the cubes one by one. Mix until the butter is roughly incorporated.
- Turn the speed up to minimum and mix until the dough comes away from the sides – approx. 5 minutes. Ideal temperature 24° to 26°C (78°F).
- If mixing by hand, rub the butter into the dough. Knead for 10 minutes until very smooth. Ideal temperature 24° to 26°C (78°F).
- Shape into a ball and cover. Put in the fridge for at least 30 minutes, an hour or more is better. You can leave it overnight
- When filling, the trick is is not to add too much filling – spread the pesto as it is were butter. You will need a metal spatula
- Have a selection of fillings to hand eg sun dried tomatoes, confit garlic, goats cheese and chilli sauce to hand. Once you’ve made this, you’ll think of many other combinations you can use.
- Take the dough out of the fridge. Roll out to a rectangle about 3 mm thick.
- Spread the pesto thinly over the dough to within 1 cm of the edge.

- Cut the sun dried tomatoes into 1 cm pieces and thinly and evenly dot across the dough. Do the same with the garlic and goats cheese.
- Roll up the dough from the long side.
- At this point decide whether you want individual buns, or if you'd like to share and tear place close together, they can be shaped into hearts too!
- Cut into even pieces about 80 grams. Flip each one on its side and place on the baking sheet. Brush the dough with the egg wash.
- Pre heat oven to 200°C
- Prove until soft and yielding (about an hour). Egg wash a second time just before baking.

- Place in the oven and bake for approximately 15 min
Notes
Pesto Recipe
It’s well worth making a batch of pesto. I tend to freeze mine as it keeps longer

Pesto ingredients – use what you have to hand

Home made pesto
Equipment
- Food processor or blender
- 1 Chopping board
- 1 Sharp knife
- 1 Frying pan
Ingredients
Pesto
- 100 grams basil lightly chopped
- 50 grams pine nuts toasted – hazelnuts and cashews work equally well
- 50 grams grated parmesan roughly grated or chopped
- 100 grams olive oil (approx)
- 1/2 lemon juiced
Instructions
Pesto
- Use a food processor blender to make the pesto

- Lightly toast your nuts. Pre heat a frying pan without oil. Place the pine nuts in the pan and move around with a wooden spoon or similar ensuring they become golden not dark. You can also toast them in at 180°C for a few minutes. Set aside to cool.
- Put the nuts into the processor and pulse a few times.
- Add the parmesan and pulse a few times
- Add the basil and pulse again. Then add the oil little by little. It will be very thick. Add the lemon juice. Add more oil it becomes a spreading consistency.
- Check for flavour. It may or may not need a little salt and pepper
- Store in the fridge for a few days in a jar. It freezes very well in small portions.


Hi Malou. My version is right. You do not need to use as much yeast as you are using. Why not try it? This is a formula used by many French bakers and something I learnt during my professional training.
Your fresh to dry yeast ratio is off. 7g of dry yeast x 3 = 21g fresh. Yeast conversion charts will confirm. I’ve been making bread with this rule all my life.
Thank you. I fancied making it and had no basil, so thought why not try something else!
This looks so lovely and festive. I love the fact that you use a combination of different herbs, and not just the standard basil option. I’ll have to try this!
I know what you mean about sharing! Individual ones would be so cute!
Thank you Kim! I am sure it will work for you.
This looks so good! I love a tear and share (I’m just not so keen on the sharing part!). Nothing to stop me making it for one though! Hehe.
I’m salivating! I love pesto, so when I have a day, I might just have to make this and eat it all myself! I’ve never made anything like it so the fact you’ve done step by step instructions is excellent! Kim x
It is! I hope you’ll try it?
Thank you! Might try star shaped next time ..
Oh wow, this looks great and simple to make too- perfect for the Christmas season! X
I love this! Sounds like the perfect thing to bring to Christmas parties or for at home during the festive season.