What bread making equipment do you need to make great bread? Bread making at home is not difficult. It’s too easy to go mad and buy all sorts of equipment you really don’t need.
In this post, one of my series on Bake Better Bread, I suggest the items you’ll need to get started, and those pieces of equipment to purchase once you’ve been bread baking a while.
My Bread Making Essentials
Top Seven Essentials
Digital scales are essential for weighing out ingredients. Digital scales are particularly useful where as old fashioned weights are not. You can zero the display each time you add an ingredient to your bowl. The scales I use show not only have metric measurements, but ounces and fluid ounces. I still use some recipes with imperial measures, so rather than have to convert amounts, I just set the scale accordingly.
Breadmaking Bowls
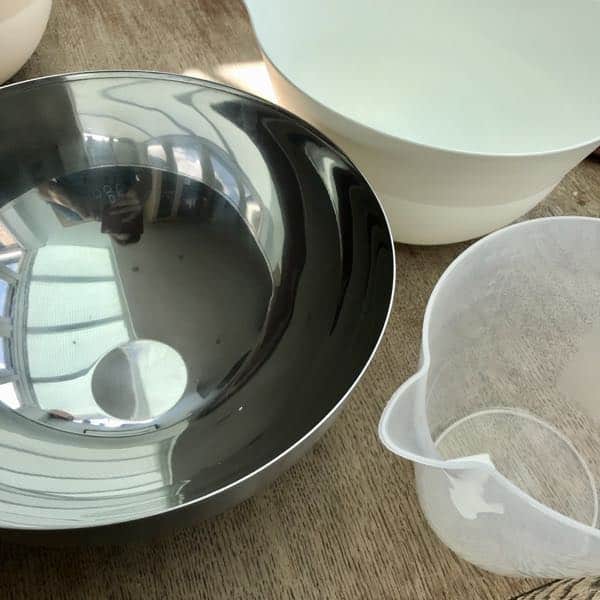
Aquire the largest mixing bowl you can. A good bread making bowl should have a capacity of least 5 litres. I have plastic, earthenware and metal bowls and all are equally good! A second mixer bowl is always useful.
Measuring Jug
You will be using your measuring jug to pour water rather than measure. Always weigh the liquid you put into your bread. I like a measuring jug with a good lip that can hold at least 1 litre of water.
Dough Scraper
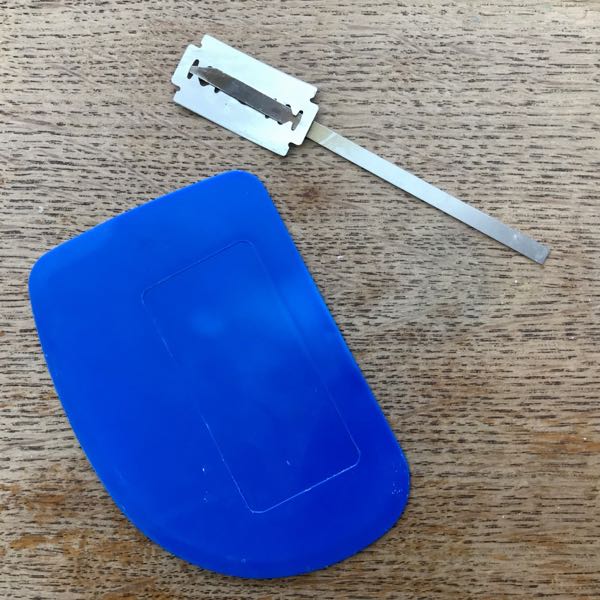
A handy plastic dough scraper is a must, especially if you are hand mixing. It makes it easier to mix the dry ingredients into the wet, but must importantly will scrape the dough off the table as you shape the dough in the early stages. It will be sticky and it will get stuck.
Bread Lame
A bread lame (pronounced as you would lamb) or grignette (green-yet) is used just before you put your dough in the oven. You score or cut the dough to help control how the dough expands during cooking – a sort of chimney if you like. If you didn’t score the bread, it would simply expand where it likes – the side, the bottom, etc.
The one I use looks quite lethal, it is a razor blade on a small metal handle. Lames range from one that looks very similar to a craft knife where you bread off a small amount of blade when worn down to handmade beauties.
If you happen to have a small serrated knife, this is an ideal starting point.
Digital Thermometer
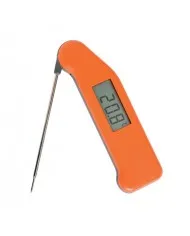
I couldn’t do without my digital thermometer. My trusty Thermapen is always at hand. Getting the dough to between 24 and 26C when kneading will make a huge difference. The key to making consistently good bread is to start with the right water temperature and then knead to the correct temperature. Check out my full guidelines on temperature no more tepid water, you’ll use just the right temperature water. If you want to treat yourself,
Thermapen are the very best. They come in a great range of colours too!
Baking Trays and Tins
You might well have a suitable tins and trays suitable for breadmaking in your kitchen already. If you are buying a new tray, buy the largest that will fit in your oven and as heavy duty as possible. Heavy duty trays are less likely to bend when they heat up and are far more durable.
When you are starting off, you could easily use cake tins that you already have. If you want to make bread loaves, it’s well worth buying some tins. Rackmaster make some wonderful sturdy tins that will last you for years and years.
Water Sprayer
Getting steam into the oven means a crustier loaf. Water sprayers (I prefer the pump version) are available at DIY and other stores for a couple of pounds. Read more about Heat and Steam
Breadmaking Equipment for the passionate baker
Once you have started breadmaking, you are likely to get hooked. These items are ones I use regularly and highly recommend.
Top 7 Breadmaking essentials for the more experienced baker
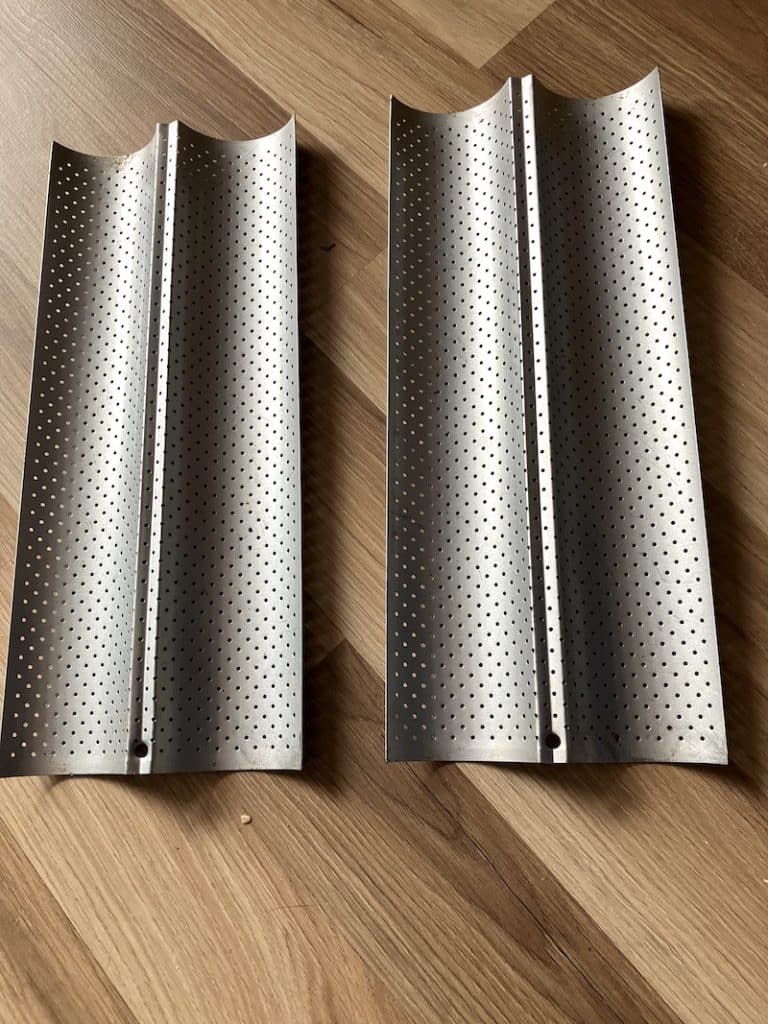
Baguette Tray
If you’re keen to make baguettes, consider a baguette tray. You’ll get a better bake even in a domestic oven. Mine are aluminium. If you’re using 600 gr flour, four slots are ideal.
Baking Stone
Domestic ovens are not designed to bake bread. As soon as you open the door, heat is lost. Consistent heat means a better loaf of bread. You can go some way to solving this by adding a baking stone to your bread making equipment essentials. You pre-heat your oven for an hour before baking with the stone in situ to retain heat.
The bread making stone can be as simple as a granite tile from a DIY store which will cost you under £10 or a pizza stone (although round ones do have their limits). If you are making individual loaves, you can also use a dutch oven or cast iron casserole dish with a lid. I have granite tiles and a refractory baking stone which costs around £30.

Cast Iron Pans or Casseroles
These are a real game changer if you are using a domestic oven. Often called Dutch Ovens in the USA, European versions tend to have handles on the lids. Go for at least 23 cm wide.
Le Creuset are the bees knees but are very expensive (from £200) – it’s worth looking at their sale pages. You’ll often find cast iron pans for sale in Lidl at a very reaonable price.
If you want to buy British, Netherton Foundry make some sturdy casseroles from spun steel (around £125).
If you’re not worried about buying British you can find some from £35 on Amazon.
Reusuable Silcone Sheets
I have large silicone sheets that fit the shelves in my Rofco baking oven. These are indispensable. You can use them on top of baking trays and baking stones to make it really easy to get your bread in and out of the oven. They are very long lasting and can be washed and used again and again. Amazon have a large range of sizes.
Long Rolling Pin
I will always choose a wooden roller, I find these work best for me. Choose a 40 cm long rolling pin which is longer than standard rollers. These are ideal when you are rolling out croissant dough and pastry.
Baker’s Couche
I use a baker’s couche far more regularly than I do banettons and brotforms. A couche is a very thick piece of linen material that you strew with flour then pleat the contain the dough. The dough is placed seam down. When you are ready to score and bake, you use the pleat to help you manoeuvre the dough. Brook Foods sell 100% linen couche by the metre. Do make sure the couche you buy is actually made of linen not cotton.
Banetons and Brotforms
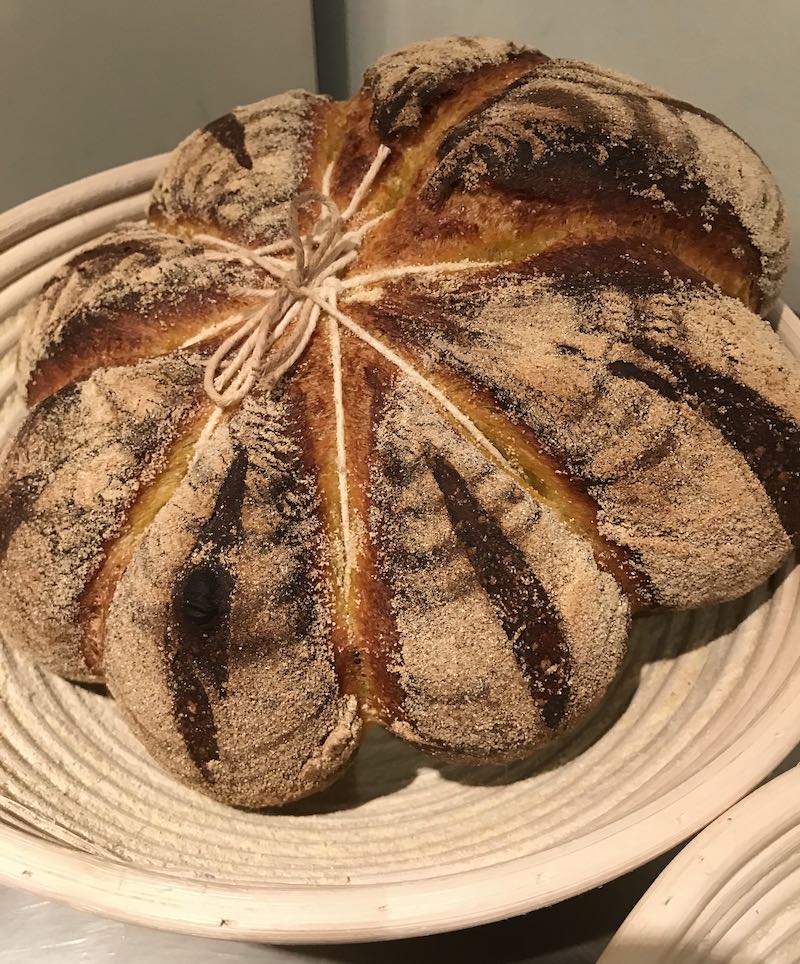
Banetons are baskets for proving bread, particularly sourdough. The baskets are very well floured before the dough is added. This helps form a skin on the dough and I feel it ‘tames’ the dough. Banetons are made in various materials including plastic, cane and wood fibre. Standard banetons are either ridged or smooth, but other patterns are available that will be transfered to your loaf. Amazon stock a range of shapes and sizes. As a guide a 23 cm round baneton will take 1 kg of dough.
Stand Mixer
Stand mixers come into their own particularly when you are making sweet doughs where you need to add butter. They are an investment, and I’d make sure that I will be using the mixer for more than just breadmaking! You cannot mix dough well in a food processor.
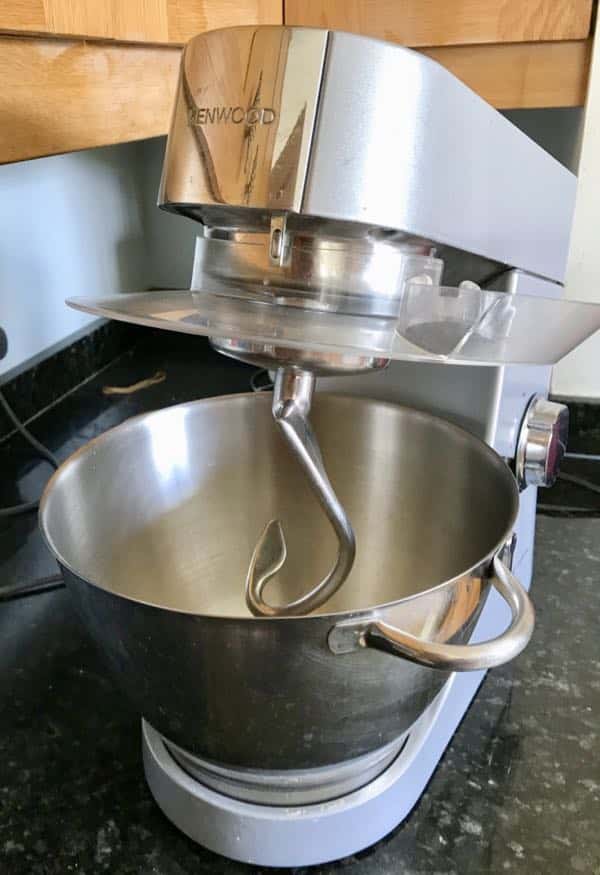
Do make sure the mixer comes with a dough hook and choose one that has the most powerful motor you can afford. It is very easy to be swayed by the colour of the stand mixer, but the more powerful, the more robust it will be and dough making is very physical. For example, a Kitchen Aid is around 300W, a Kenwood Chef Titanium 1500W. You’ll need as large a bowl as possible. The largest are usually around 4.6 litres, however this does not mean you can mix that quantity of ingredients, that is usually around 2.6 kg. John Lewis stock a good range of stand mixers and they provide a two year guarantee.
Rofco Oven
If you’re interested in baking bread in larger quantities, a Rofco oven is a great choice.
Now of course, all you need is the ingredients!
Discover more
Read more tips in my Bake Better Bread Series:


5 thoughts on “Bake Better Bread: Bread making equipment essentials”