
Autolyse (Pre soak)
I learnt to bake professionally in France and I use the techniques and practices every time I bake. I am particularly fond of the autolyse or pre-soak technique. It requires no skill whatsoever, and really makes a difference! French flour particularly benefits from the autolyse technique.
Why you should autolyse
Pre-soaking your ingredients makes your bread easier to mix, you’ll knead the dough less too and improve the flavour. All you do is to add water to your ingredients and let it rest for a minimum of 15 minutes for yeasted dough. Some bakers soak with the yeast included, some without. Most agree no salt is added.
As the mixture rests, the water is absorbed by the flour. The enzymes in the flour are activated and gluten is developed. Starch is broken down into simple sugars that the yeast feeds on. This happens when you make bread in the normal way, but using the autolyse method ensures this is done before kneading.
What is autolyse?
In the 1970s French professor, Raymond Calvel carried out many experiments on making bread in bulk. Calvel had become dissatisfied with the quality of French bread at the time and started experimenting. Mixing the bread ingredients roughly, then leaving the mix to relax for at least 15 minutes made a remarkable difference. He discovered that less mixing time was required to make a good dough and that the texture improved greatly, especially for rich doughs such as croissants. He named this technique “autolyse”
How long should I autolyse?
Count on autolysing (I am hoping that’s a word) for at least 15 minutes for yeasted bread – I try to leave it 30 minutes hour some people leave it even longer up to 3 hours. Sourdough bread also benefits from an autolyse. I mix flour, water and starter and leave for 3 hours before the next stage.
Try it on a recipe you already use and are are happy with. Roughly mix the ingredients by hand or in a mixer, cover and wait or go and have a coffee!
Should you add yeast or not?
Prof. Calvel’s method includes yeast in the pre-soak and he also includes sourdough starter if using. I was taught this method. However, good results are also obtained without adding yeast or salt to the pre-soak
Why you should not add salt when autolysing
Prof. Calvel’s method excludes salt in the pre-soak. Salt is an important element in stabilising the dough, but it can slow down the all important enzyme activity. Doughs without salt are much more sticky and more difficult to work with.
And why you might need to add salt
If you are making bread by hand, it is more difficult to add salt into the mixture after autolysing. You still will reap some benefits if it is added to the pre-soak. Keep back some of the water and dissolve your salt in the water before adding to the dough, it’s much easier
What’s missing?
It is all too easy to forget to add the salt and yeast (if not already added). Place both on top of the dough in a small container so you never forget.
So over to you! I’d love to hear how you get on.
Autolyse your Bread
You can autolyse any yeasted bread recipe using any wheat flour. (Sweet doughs really do not need autolysing). If you want to add pate fermentee to your recipe, just add 20% of the flour weight. Nothing else needs to changed.

Autolysing your dough
Equipment
- Stand mixer (optional)
- Dough scraper
Ingredients
- 1000 grams Flour 1 kg
- 700 ml Water 700 ml
- 10 grams Fresh or Dried Yeast 10 gr
- 15 grams Salt 15 gr
- 20 grams Pate Fermentee 200gr (optional)
Instructions
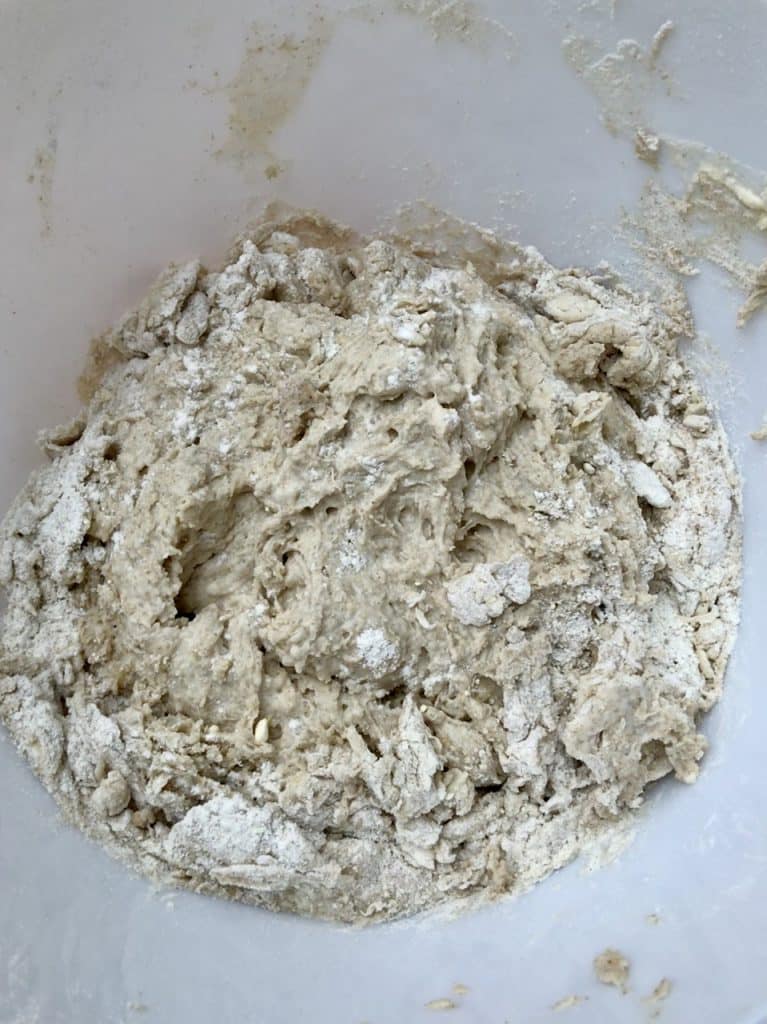
- Place all the ingredients except the salt in the bowl and mix together roughly

- Cover and allow to rest for a minimum of 15 minutes. If you are using this method for sourdough, leave for 3 hours.
Yeasted dough instructions
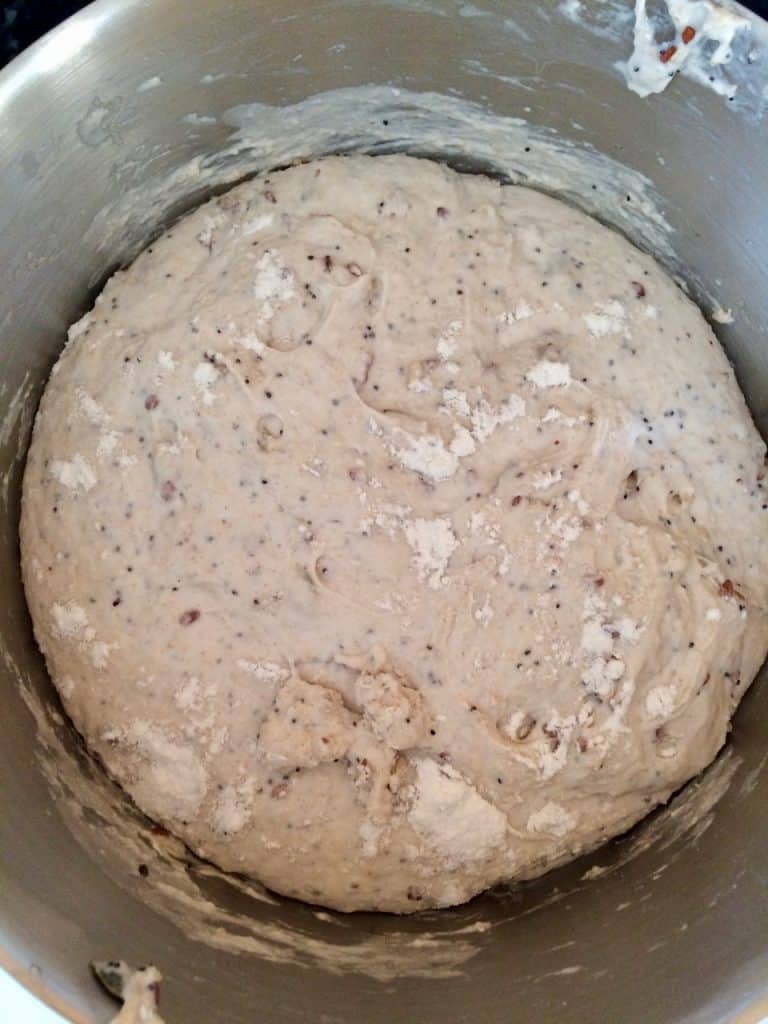
- Add the salt and mix together well. I sprinkle the salt over and either let the machine do the work, or turn over well to mix.
- Knead by hand or use a stand mixer and dough hook. You should find that the dough comes together more quickly and smoothly than usual. In a stand mixer, mix for 5 minutes on a low speeds, 5 minutes on a medium speed until the dough reaches between 24 and 26°C.
- Prove for an hour (yeasted dough) or alternatively put the dough in the fridge overnight. For sourdough, prove for 3 hours before putting the fridge overnight
- You can stretch and fold the dough a couple of times during the proving process.
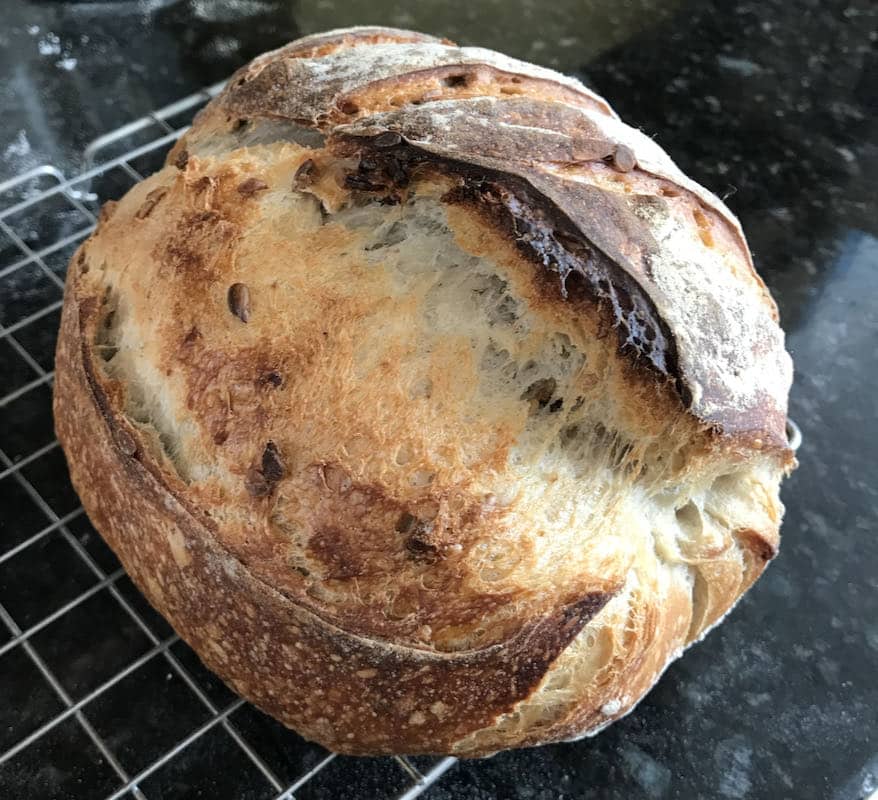
- After you have proved the dough at room temperature, or overnight in the fridge, shape and prove a second time for at least an hour in a banetton or tin
- Pre-heat the oven. For the best bake, use a pre-heated cast iron pan. Bake for 35 minutes at 230°C. If using the pan, take the lid off after 25 minutes.
Notes
Use this method and you’ll join some of the best bakers around who swear by the autolyse method, including Chad Robertson of the Tartine bakery.
Find out more
The English e-book version of Prof Calvel’s The Taste of Bread is available but costs a hefty £49.50. More suited to those baking large quantities, it is an in depth instruction on how to baker bread.
This is one of the techniques I use in my bread classes. Check out further Bake Better Bread posts in this series.
Best to autolyse with the water, then add any extras when you knead!
Thank you so much Danielle. I bake with whole wheat flour. Can I add other liquids such as honey and oil to the autolyse?
I’ll give a try next time to follow the autolysing with baking in the machine and tell you how it comes out. Then you can tell your fans that someone has tried it and this is what she found……!
Hi Lucy, So pleased you find autolysing helpful. I’ve no experience with bread machines, so hesitate to answer your question!
I used to make bread by hand with dried yeast when I was in my thirties. On mum’s death inherited her bread maker, and have got used to the paddle shaped hole in the bread, just.
Autolysing is brilliant. Has changed my life. For when I’m in a rush, could I get away with checking everything in bread maker , on short programme and let it occasionally take the strain?
Great to know Dawn. Yes, I’ll always use fresh yeast for prefernce
All done by hand as I don’t own a stand mixer, I could feel the difference in the dough when I kneaded it. I also used the percentages given in another area of your site. I managed to get some fresh yeast from an independent bakery near where I live which I prefer to using dried yeast.
Hello Dawn, Thank you so much for your kind comment. It is really appreciated. It’s great to hear that my instructions were so successful!
Thank you for posting such useful techniques, I only discovered your website a week ago. I used the autolyse method for the first time yesterday, having made bread many different ways over the past 50 years. (Started young!) I also followed your advice about having the oven on a higher temperature than is usually recommended in homemade bread recipes. The two different loaves I made turned out so well, I will only be using this method from now on.