Successfully baking bread in the Rofco oven
Baking for yourself
It’s quite a shock when you start baking bread for yourself. Justifying a bread oven when you’re not sure how your business will go, is hard. But you soon get very fed up with a domestic oven even using a baking stone as the temperatures are never high enough nor are they consistent and the flabby crusts will inflame you. What next? Will a Rofco oven be the best solution?
I’ve helped many new Rofco owners and owners-to-be with tips for their Rofco oven. Sign up for an online chat with me at a time and date to suit you.

Why a Rofco oven
When I was learning to bake in France, it was all too easy to take for granted the equipment we used daily. There were four large deck ovens. Each had three tiers with a “tapis” (a rolling carpet contraption). Here we placed our breads and in particular baguettes to load them in the oven. At first, it was difficult to load them correctly and end up with bread exactly where you did not want it not be.
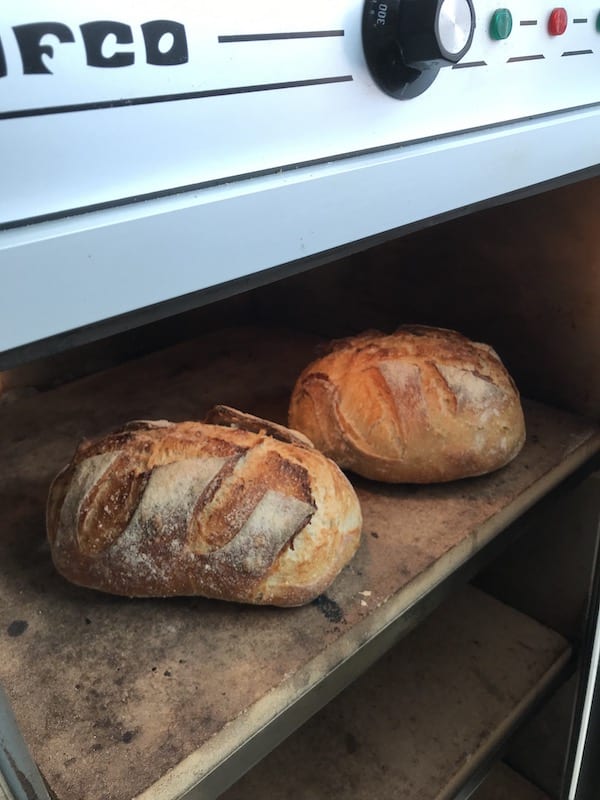
The beauty of these ovens is the solid stone ‘floor’. This keeps the heat constant and even. If we wanted steam it was the matter of pressing a button and counting a few seconds. Of course all baking would be like this, wouldn’t it? Crusts perfectly formed and bread baked beautifully
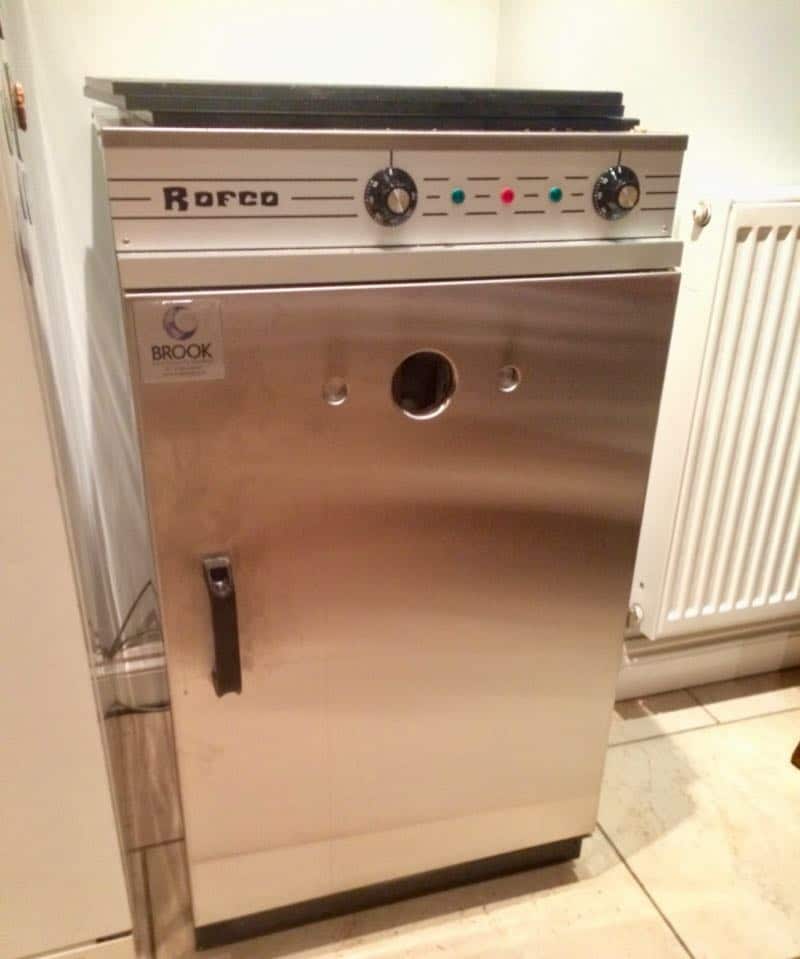
The Rofco bread oven is an excellent option for the smaller baker. You can bake up to 12 loaves (depending on the oven you go for). With the ‘stone shelves’ the heat is far more consistent than a domestic oven.
How much power do you need?
Unless you are incredibly lucky, your premises will not have three-phase power. This is what most deck ovens require to function. Three phase power can be prohibitively expensive to install – another reason to be hesitant before an expensive purchase. Luckily the Rofco oven does not need three phase power.
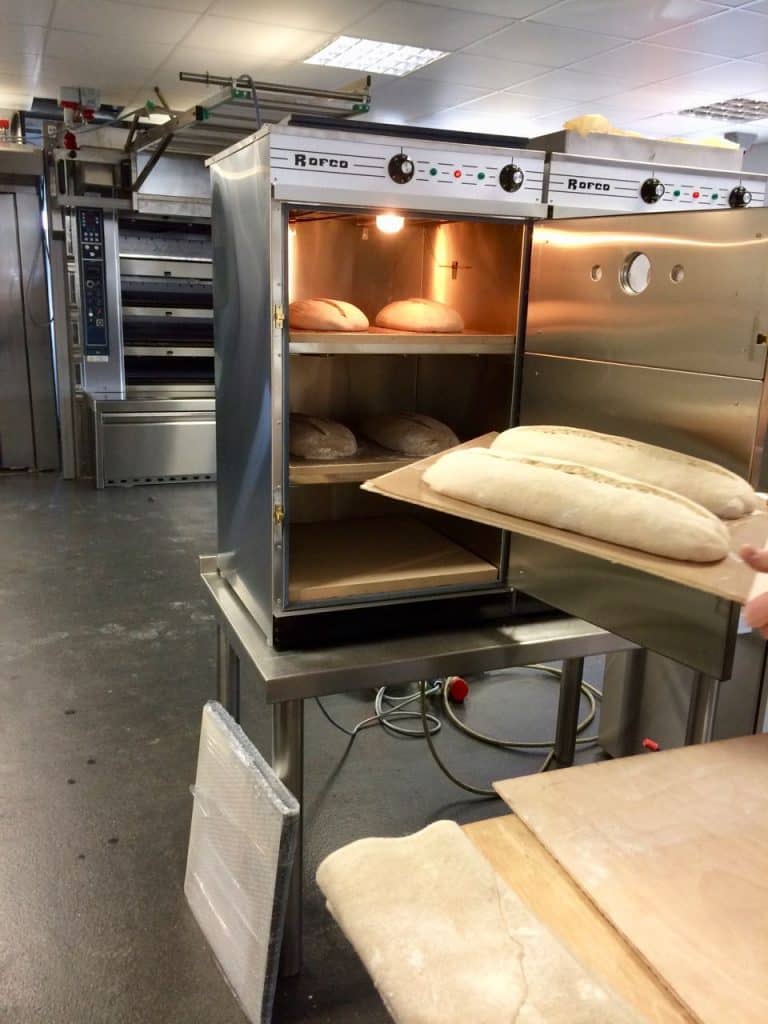
I visited a few micro bakers and discovered many had a Rofco oven. If you opt for the largest model it is the size of the average washing machine, although a little taller. You have three shelves on which to bake, each with a stone enabling you to bake up to 12 loaves at a time depending on size.

Brook Foods are the distributor for this oven. I set off to Somerset to find out more about the Rofco in a workshop lead by Adam Pagor. At the time he ran 3 Rofcos in tandem in his bakery. Not only could I see how the oven works but more importantly got tips and the chance to ask questions. We also had the opportunity to take our own bread to be baked in the oven. I was convinced and decided to purchase.
Some time later with our trusty small trailer in tow we set off to get the Rofco. The “stones” were gently placed in the back of the car – boy were they heavy – and the rest in the trailer. With a bit of muscle power it was easy to get the oven installed.
Now many years later, my Rofco is still going strong, and I have become expert at its use.
Baking in the Rofco oven – the essential guide
Whatever oven you have used before, you have to get used to baking in the Rofco oven and find what works for you. Here I share tips from myself and fellow bakers: Adam Pagor now of Grain and Hearth Nigel Brown of the Green Bakery; Nick from the One Mile Bakery, Cardiff; Sarah Raisbeck; Patrick of Indigo Bakes; Maja Herman; Philippe le Toquin of the Long Slow Bakery, Dan Sumpton; Cynthia Kinihan.
We are all very fond of our baking in our Rofcos, but they do have a few quirks!

Stopping bottom shelf hot spots
There are three ‘stones’ which are actually pure chamotte or refractory brick. The bottom stone sits directly on the element which leads to hot spots and uneven heating .
This is a design quirk that is easy to fix. Hopefully Rofco will address this in newer models. We’ve remedied this in various ways:
Patrick has raised the bottom stone by about 1 cm; Maria has placed some metal rods just higher than the elements, Dan has used metal nuts and Adam Pagor suggested using coins. We have placed some metal brackets on their side that are just higher than the elements.
Stop the door sticking
After a few months, it became more difficult to shut the door. I found a little vegetable oil on the catch works wonders.
Power Required
The power rating on the Rofco B40 is 16 amp. The instructions say that you should hard wire the oven into a dedicated 16 amp supply. Most domestic plugs in the UK are fused at 13 amp. We have hard wired in our Rofco as you would a domestic oven through a 13 amp fuse. This has run satisfactorily to date*.
Steam Pods or Garden Sprayer
You can purchase steam pods that sit on the shelves or use a garden sprayer. Most of us use a garden sprayer. Patrick uses pods on the door side and prefers this to using a sprayer. Nigel did purchase some and was pleased with the results, but found they take up a lot of space. He is now achieving good results with a garden sprayer. Maja’s tip is to be careful not to spray the light as it breaks easily! (Spare bulbs can be found at B&Q).

Oven stands
You can purchase stands from Brook Foods. Nigel has purchased a bespoke made stand that raises the oven up to make it easier to fill and provides additional storage underneath.
Trays and peels
The metal trays supplied with the oven are prone to rusting. Oil them regularly.
Several of us have plywood boards that have been cut to the width of the oven and slightly deeper. Place bake-o-glide (silicon sheets) on the boards with the bread on top. You then slide the sheet and bread into to the oven in one action. Getting the bread back out is just as easy. Place the plywood board under the silicon and lift. Nigel swears by a metal peel as does Nick. Others have had custom made trays made, for example for foccacia.
Pre-heating
We all pre-heat for at least 1.5 hours.
Heat Retention
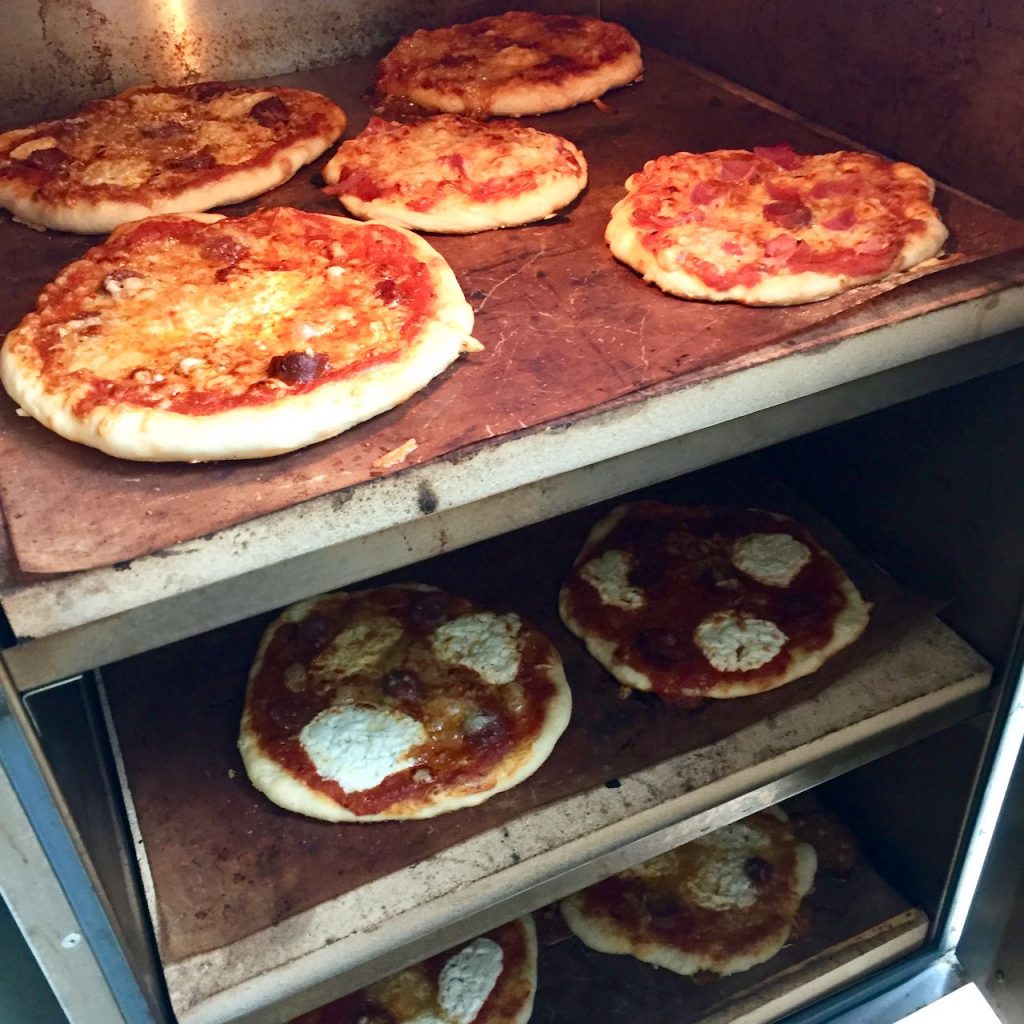
Baking multiple batches of bread is easy in the Rofco as it retains heat so well. No need to wait between batches. I always plan to use the oven for other items before and after baking the bread. It also cooks roasts to perfection!
Important Temperature Guide for the Rofco
Whereas there is much agreement on the above points, how we bake bread in the Rofco oven is somewhat different. A good oven thermometer is a must. I discovered that the temperature in my oven is about 20 degrees hotter than the dial indicates. Whilst the dial suggests you can bake at 300 degrees, the higher the temperature the more variable the results. Two vents are located on the front of the oven, these can be opened to release steam. You should also check the temperature of each shelf and adjust accordingly. Thanks to Philippe for highlighting this. It’s important if you want your breads all to be the same colour!
I asked the bakers to share how they bake a large loaf typically 750 to 900gr unbaked weight.
Where temperatures 2 and 3 are shown, this is what the temperature is turned down to after heating or a period of baking. Opening vents improves the crust. The table shows when the vents are opened out of total baking time.
| Pre heat temp °C | Baking Time | Temp 2 °C | Time | Temp 3 °C | Time | Vents open after | Steam | |
| Baker 1 | 240 | 16 | 210 | 20 | 20 minutes | Pods used | ||
| Baker 2 | 280 | 10 | 190 | 25 | 250 | 5-10 minutes | 25 minutes | Before, on loading, after 3 minutes |
| Baker 3 | 230 | 30-35 | After loading | |||||
| Baker 4 | 230 | 24-30 | After loading | |||||
| Baker 5 | 280 | 10 | 220 | 40 | 250 | 30 minutes | On loading | |
| Baker 6 | 250 | 35 | 230 | 37 | 15 minutes | Pods used | ||
| Baker 7 | 230 | 35 | 25 minutes | Before, on loading | ||||
| Baker 8 | 240 | 16 | 210 | 20 | 20 minutes | On loading |
Find out more
Brook Foods are the distributor for the Rofco range of ovens in the UK.
Pleasant Hill sell the Rofco in the USA.
Find out more
*I would always advise asking a fully qualified electrician to wire your oven in. I am passing on tips used by bakers but cannot guarantee that they are suitable for you.


Hi Jacklyn
It remains a really good option for someone scaling up. I would suggest going for the B40 rather than the smaller ones. There is another oven, the RM2020 which people are very happy with. It is a little dearer.
The beauty of both ovens is that you can run them on a normal domestic supply (although wired in). The Rofco takes up the same width as a dishwasher or washing machine but is a little taller
Second hand Rofcos are always worth considering. There is really very little than can go wrong with them.
As far as I know Brook are the distributors of the oven.
Thank you so much for writing such an informative article on the Rofco and how different bakers utilise it. I found it really useful, as homebaker starting to think about potentially getting a bigger oven.
As this article was written a few years ago, I wondered if you would still recommend the Rofco as a first choice to homebakers in 2024 or if other ovens have since entered the market and are worth a serious look? It also seems to me that Brook Foods still remain the sole supplier of Rofco in the UK – is that to your best knowledge the only place to get it new?
Many thanks in advance for your help.
Bonjour Danièle,
Je découvre vos précieuses informations sur le four ROFCO et je vous remercie pour ces partages très utiles. Je viens de recevoir mon four ROFCO B40. Je ne l’ai pas encore testé et je voulais vous demander si vous pouviez me guider dans les différentes étapes afin d’avancer au mieux dans l’utilisation de mon nouveau partenaire de cuisson 🙂 ! Merci beaucoup à vous en espérant que ce soit possible.
Hi, we gave rofco b10 for small commercial use at our farm shop. 12 loaves on a Saturday type thing. We have an issue with the bottom shelf being cooler and of course you cant see tge bottom bread cooking. The top shelf cooks fine but bottom in sourdough is light colour and underdone. We tried the nuts under the stone to lift it but it still has same problem just not as bad. We have rofco steam pods on both shelves but i see thermostat is only on top shelf area. Any suggestions?
Hello. My Rofco is hard wired in so I cannot show you the plug unfortunately.It is wired in as you would a domestic oven.
Is there any way you can show me what the plug on the rofco looks like?
Thank you
So pleased it was helpful. Good luck with the baking
Thank you BREADBAKERDANIELLE that is helpful. I’m just starting out and trying to factor in costs. Sometimes I’m baking 12-20 loaves in the one bake and other times individual breads. Makes sense to use the rofco for big batches and continue to use my domestic oven for smaller batches.
There is a way of working it out. The wattage of your oven is listed at 2.5 kW 230v.
Therefore cost per hour is 2.5 multiplied by the £ cost per kWh from your electricity supplier. You need to factor in how long it is going at full power – assume 50%. eg when it reaches temperature, it will switch on and off to maintain the temperature. It takes 1.5 hours to heat up.
So if your current electricity rate is 13.48p/kWh (like ours). Cost per hour is £0.168. (2.5 x 0.1348 x 50%).
Hope this helps.
I’ve just purchased a rofco b20 so playing around with timings. I noticed someone asking about running costs for the larger model. Do you know the running cost for the b20 or direct me to where I can get this info as starting up my own microbakery and this would be helpful.
Hello Dave, Thank you. I’ve sent you an email directly on costings!
I’ve just saved this article for near-future reference – I’ll be receiving my B40 in about 8 weeks time, so I’m sure all this information will be invaluable. Thank you!!
Do you have any idea, even roughly, how much it costs to run one per hour? I’m trying to do some projections on costs and this information would be a great help, if you know??
Thanks,
Dave
Tanya, It has been a pure pleasure. I love your enthusiasm and determination.
I would like to just say what an amazing help Danielle has been to me this last month. She has given me some great support and advice and I am so pleased and proud of the results! And sharing her knowledge that, to me has been priceless. I am so grateful to have found Danielle and am hoping one day soon to meet and have some face to face sessions!
Thank you Michelle. Please do not hesitate to ask questions if you get stuck!
Thank you Karolina. Do let me know how you get on!
Thans a lot for tips on the Rofco oven. I am sure it helps potential buyers to decide & get prepared. It certainly helped me 🙂
Thank you so much for the helpful article! I am planning to purchase a Rofco oven within the month and you have given me the confidence to do so. I really appreciated the insight from so many bakers who already own and use the Rofco oven and I feel like my learning curve will be substantially easier after having read this. Thank you for posting this article!
Thanks David.
Great article. I think many homes that already have an electric cooker will have it wired into a 30amp circuit so you electrician could do same for your Rocco.