Use heat and steam to improve your bread
If you’ve taken time over your bread dough but when it’s baked, it’s not quite as you hoped. Let me share some bread baking tips on heat and steam. Follow these breadmaking tipsand you’ll see an improvement in your bread!
Heat
Domestic ovens are not designed to bake bread. You might remember back to domestic science/cookery lessons at school when you were told not to open the door of your oven once the cake was inside. This is because as soon as you do so, the temperature will go down very quickly. You want a consistent temperature for your bread too.

Commercial bread ovens can bake 260°C (500°F) or higher – not generally achievable with a domestic oven. Most have a stone floor that retains and distributes the heat.
Don’t rely on the dial on your cooker. It’s a great idea to check what temperature your domestic oven actually reaches, you might be surprised. An oven thermometer is a useful tool for example Amazon.
If you have the option, turn off the fan, it will work better without and add steam (see below). If you can, aim to bake your bread at 230°C (450°F).
If you’re baking regularly, you might consider upgrading to a Rofco oven. This baking oven is a similar size to a washing machine and can bake up to 12 loaves.
Use a cast iron casserole dish or dutch oven
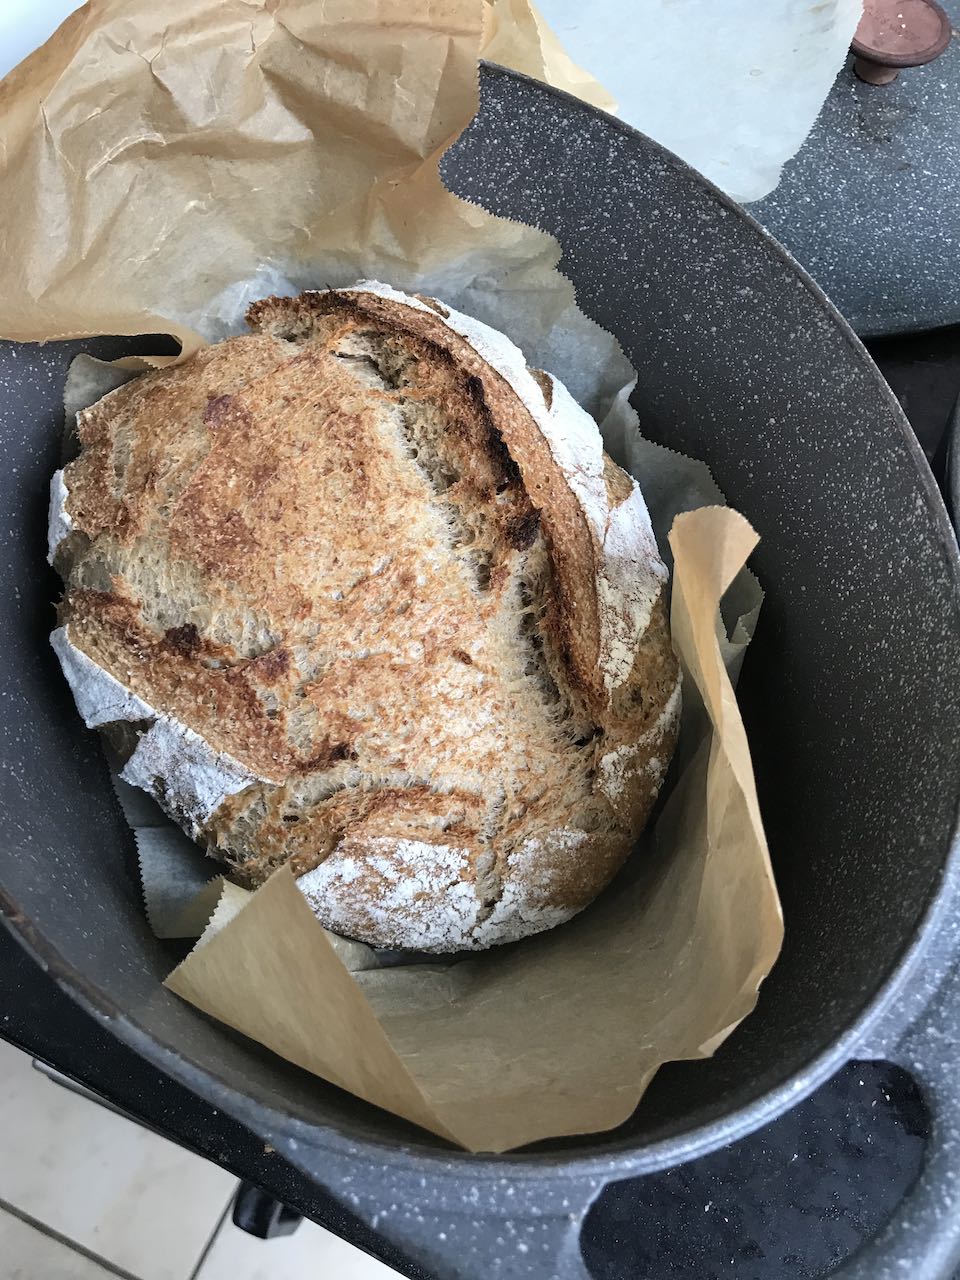
This will transform your bread! Introducing a method of retaining the heat and maintaining a constant temperature will also improve the crust and bottom of your loaf.
Baking your bread in a pre-heated cast iron dish gives excellent results. I’ve been experimenting with 3 different sizes I happen to have.
In America, the Dutch oven is popular. This cast iron dish has no top handle so you use the lid as the base and place the pot upside down on the lid with the bread inside.
However, if you’re in the UK or Europe, you are more likely to have a cast iron casserole dish. It’s just as easy to use.
How to use the cast iron pan or dutch oven
Do not be tempted to place a really large loaf in the pan. I have found that 650 to 750 gram loaves fit beautifully in a 23 cm round or 30 cm x 23 cm wide pan.
Simply place your loaf on some baking parchment, score it and lower it into the pre-heated pan and leave it there to bake. After 25 minutes, remove the lid and let it bake for 10 further minutes. Then take the bread out of the dish and bake a further 5 minutes to ensure it is evenly baked around the sides.

Use a baking stone
Whilst using the method above gives great results, it is not ideal if you want to bake more than one loaf at a time or bake other yeasted items. It’s well worth acquiring a baking ‘stone’. Ideally, this should fit the entire shelf in your oven – whilst round pizza stones are fine, they will limit your options.
A baking stone will cost from around £18 for 30 x 30 cm. I have had great results using a granite tile purchased from a DIY store (you can often buy them singly as a sample) and a fireclay plate from Pepita which handily is available in a larger size if you have a range cooker. Other varieties are available.
The key is pre-heating. Set your oven to the desired temperature and put your stone in for at least an hour before you bake.
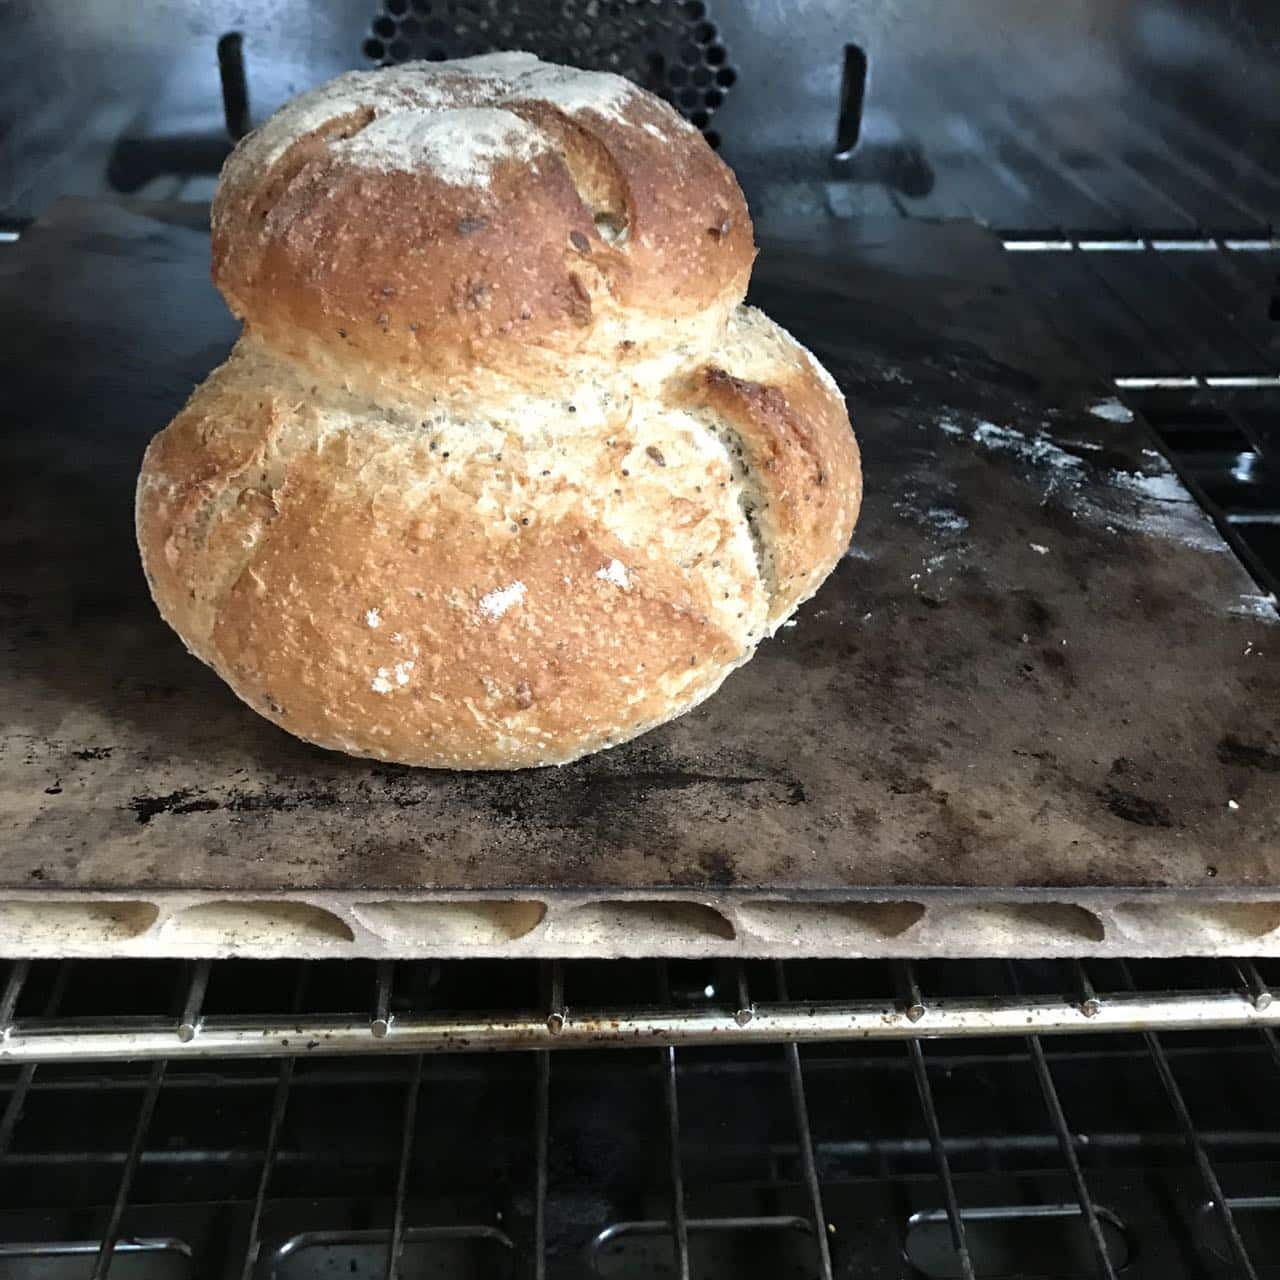
Steam
Allow your bread to rise beautifully. When you add steam when baking, it gives the bread a chance to expand and heat to penetrate the interior – often called oven spring. Most large commercial bread ovens are fitted with steam injection operated by button. To make a great crust, you want replicate this button and introduce steam into your domestic oven. Adding a pan of water is one method. This works fairly well and is most the suitable method for gas ovens. After experimenting, I discovered that putting the tray of water above the bread rather than below gives better results.
You can add steam in an electric oven by simply spraying water in using a spray bottle you might use on plants. A few short blasts can make all the difference. Spray your stone before the bread goes in then just spray liberally after you’ve put the bread on the stone.
Of course, you should be very careful when carrying out these moves.
I bake my bread for 35 minutes at 450°F (230°C)
Scoring
Just a brief mention here of scoring your loaf. This is done just before you bake the dough using a sharp serrated knife or a lame (a sharp blade). This enables the loaf to expand and rise well. It expands where you want it to. Left to itself, it might break in a different place.
Check out my other tips on How to Bake Better Bread
That’s an interesting option.
I soak a red brick in water put it in the oven while baking to create steam for a better crust
Using a cast iron casserole dish works really well, You don’t have to worry about getting steam in the oven at all
No matter what you do, a gas oven will not retain enough steam to provide any value your bread because the vent that is there to allow combustion products to escape also allows steam to escape and the combustion gas sweeps out the steam when the burner is on. There are two solutions, you can try to preheat the oven sufficiently that you can bake with steam for 10 minutes or so with the vents closed and the burner turned off then unblock the vents and reset the thermostat; the other approach requires a cloche (anything you can put over the dough during the first 10-15 minutes of baking) to retain the steam given off by the bread during that time then remove it for the remainder of the bake. The cloche needs to seal reasonably well around the edges to the oven deck, or stone to prevent steam from escaping, and that can sometimes be difficult to achieve. A lid from a large casserole may be tall enough to work, but a better solution is often to get a disposable aluminum pan and invert it. You may have to put a weight of some kind on top to keep it from warping and releasing steam around the edge where it contacts the baking surface.
If you are making sourdough, you don’t need to use fresh yeast. For fresh yeast, yes 1 or 1.5% of flour weight works well. I’d suggest following this recipe.
Hi Danielle,
If I am baking Artisan bread or sourdough bread and I want to use fresh yeast instead of the sourdough starter, should i just add 1% of flour weight and then follow the same process of 3-4 stretch and fold, shape, ferment it overnight in fridge and then bake it straight from the fridge?
Yes. I’d freeze once baked rather than before baking. Then reheat before serving
Good to hear you’ve found a good option. If you put your bread on baking parchment and lower it into the dutch oven you won’t get burnt
I get burned using dutch ovens. I got tired of adding steam to ovens. So what’s worked for me is to use a baking stone and cover it with a thick stainless steal bowl for the first 15 minutes or so. Don’t even need to preheat it.